How To Move a Peloton


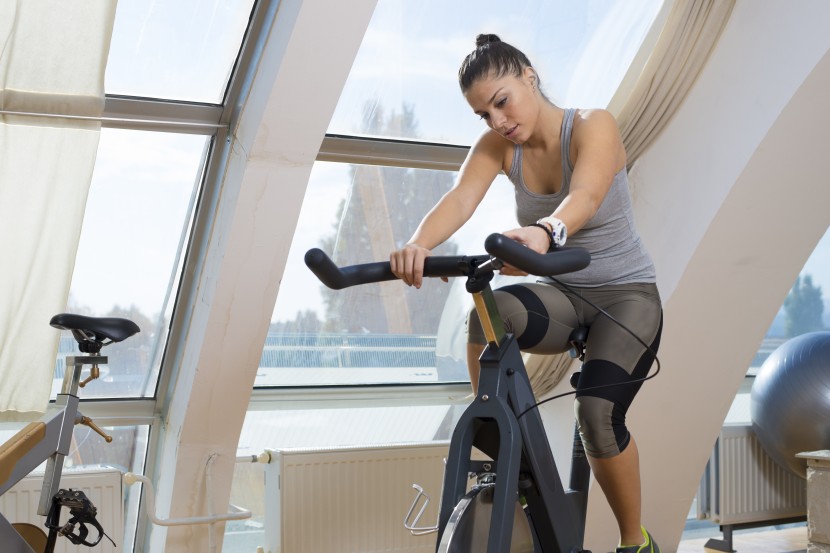
Moving your Peloton bike and home gym equipment can be a daunting task, given their size and weight. To ensure a smooth and damage-free relocation, it’s crucial to follow expert tips and take necessary precautions.
In this article, we’ll share valuable advice on how to move your Peloton bike and other gym equipment safely. Peloton’s official website highly recommends using professional movers, and we at Roadway Moving are here to provide you with essential guidelines to make your move stress-free and successful.

Why Choose Professional Movers for Your Peloton Bike?
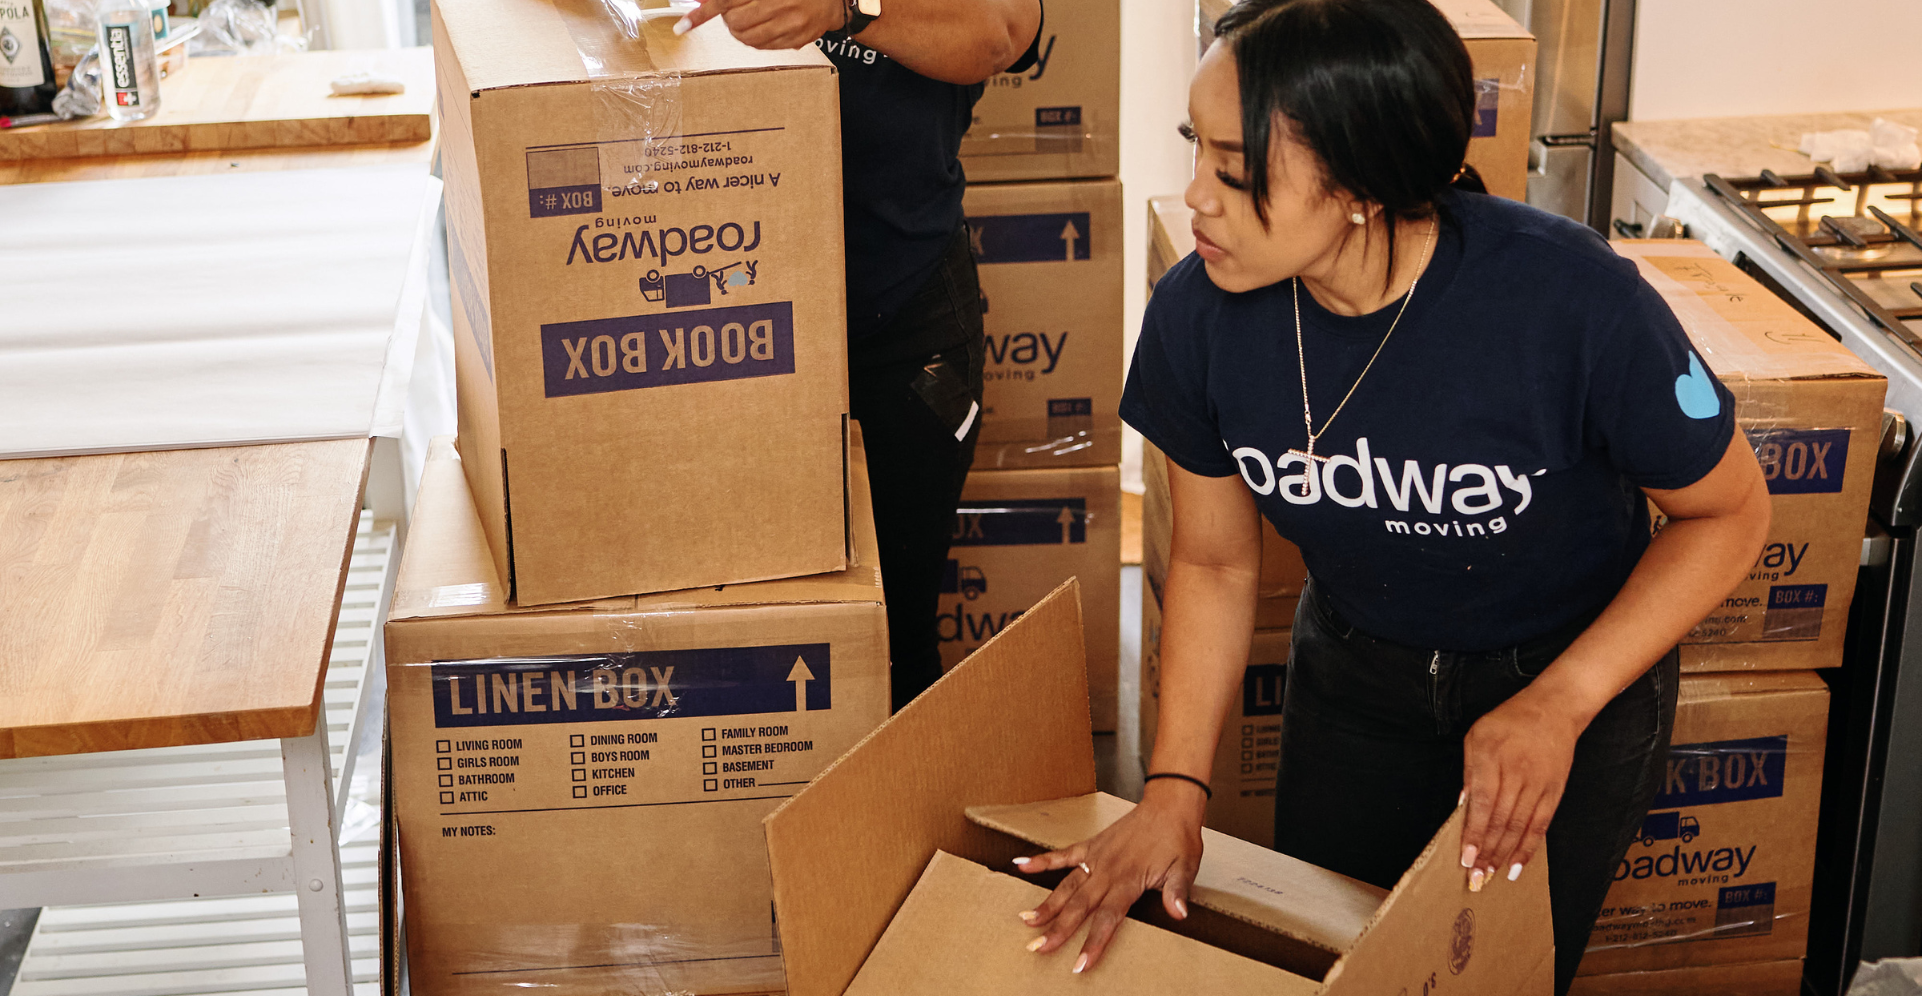
When it comes to relocating your Peloton bike and home gym equipment, enlisting the help of professional movers is a wise choice. Peloton itself recommends using insured shipping or moving companies to ensure your precious equipment is protected in case of any damage during transport. Hiring professional movers offers numerous benefits, including their expertise in handling heavy and delicate items, ensuring safety throughout the process, and providing insurance coverage for added peace of mind.
Preparing Your Peloton Bike and Home Gym Equipment for the Move
Before moving your Peloton bike, it’s essential to prepare it properly to prevent any potential damage during transportation. For significant moves, disassembling your gym equipment is often recommended.
When it comes to Peloton, begin by removing vulnerable components such as the touchscreen, pedals, water bottle holder, and weight holders.
Additionally, lower the handlebars and seat post to the lowest position and ensure all the adjustment levers on the bike are fully tightened for added stability.
Remember to store smaller parts together, making it easier for reassembly later.

Considerations for Handling Heavy Gym Equipment
Understanding the weight distribution of your gym equipment is crucial to ensure a successful move. Utilize the buddy system or furniture dollies to share the lifting load and minimize the risk of injury. If you’re navigating tight spaces like hallways or stairs, take special precautions to prevent any accidental damage to your equipment.
Protecting Your Flooring and Gym Equipment
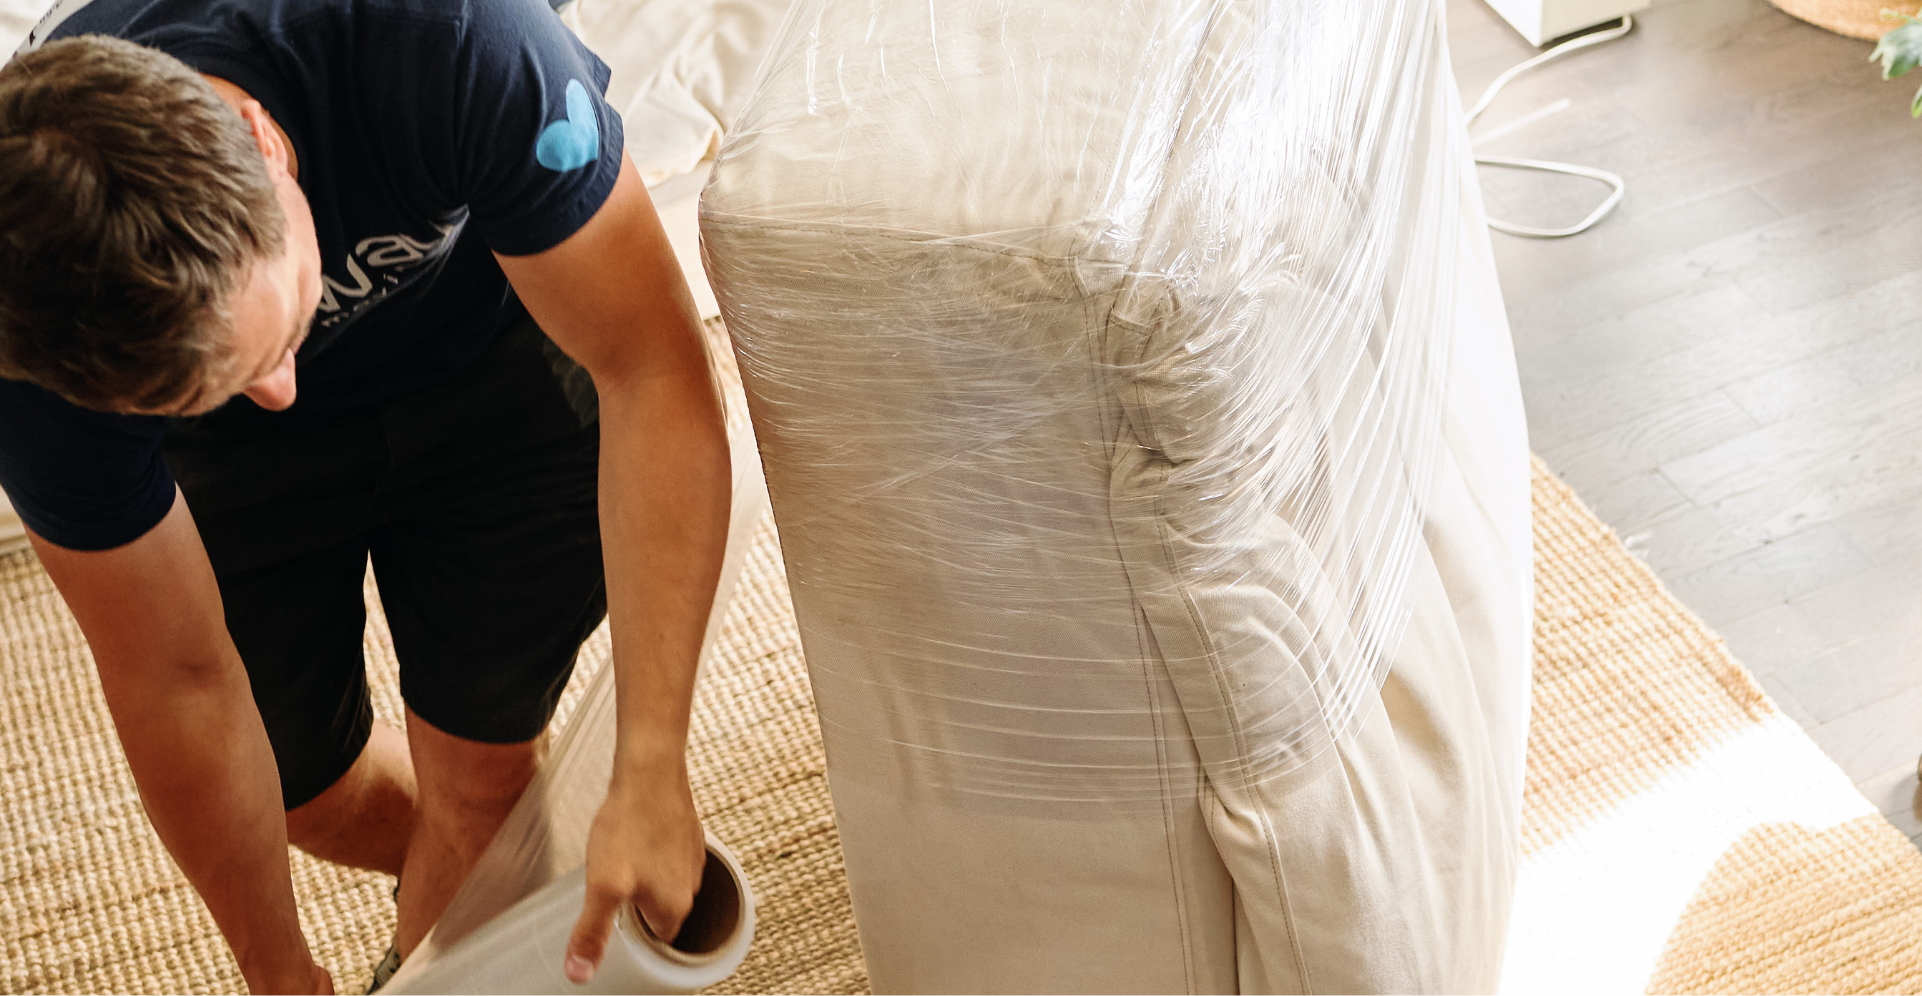
During the move, both your gym equipment and the floor beneath it are susceptible to damage. To safeguard your flooring, place furniture slides or cardboard underneath the machines to prevent scratches or scuffs. Wrapping the equipment with moving blankets provides an extra layer of protection against bumps and minor impacts during transportation.
Climate-Controlled Storage Options
If you need to store your home gym equipment temporarily, consider climate-controlled facilities. Electronic components in your machines are sensitive to temperature fluctuations, and storing them in a controlled environment ensures their protection from potential damage.
Weighing Your Options: DIY vs. Professional Movers
Before making a decision, carefully assess the advantages and challenges of moving the equipment yourself. While moving it DIY-style may save costs, hiring professional movers offers added safety, convenience, and insurance coverage. Given the value of your gym equipment, the expertise and reliability of professional movers can be invaluable during the relocation process.


Conclusion
Moving your Peloton bike and home gym equipment safely requires thoughtful planning and expert guidance. By following the tips provided by Peloton and considering the services of professional movers like Roadway Moving, you can ensure a successful and stress-free relocation. Prioritize the protection of your valuable gym gear, and with the right approach, you can enjoy your fitness routine in your new home without any worries.


